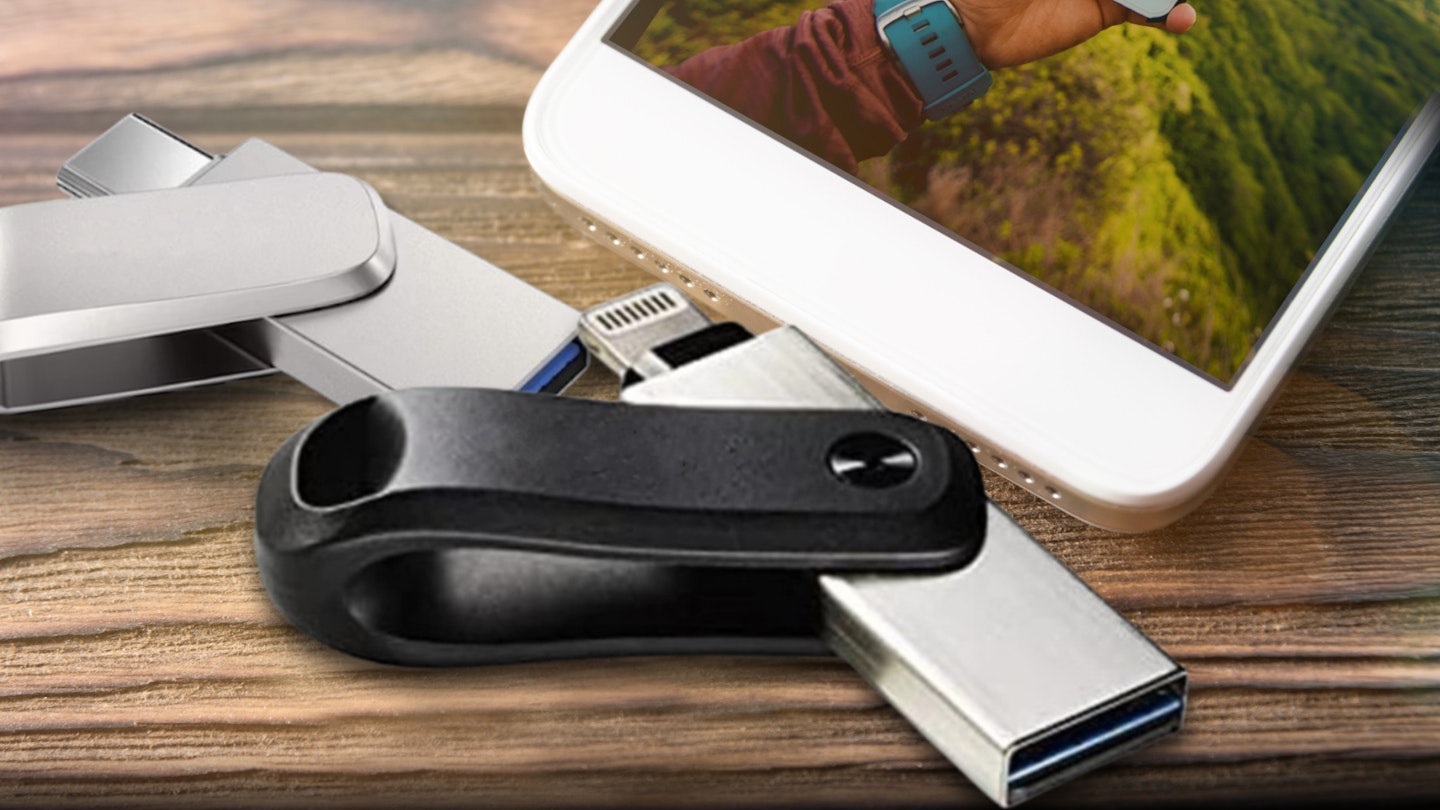
Did you know that you can transfer photos from iPhone to USB? The term iPhone alone has transcended the Apple brand itself in many ways. And the same could be said for the device itself when it comes to its capabilities; with each new generation introducing a slew of new upgrades. And that includes better cameras - especially on the best iPhones at the top end of the market. But, as you happily snap away you’re also filling up that all-too-limited internal storage space. So, you’re soon going to need to free up that space - and one way to do this is to connect your iPhone to USB to transfer your files.
One of the star features of even a budget iPhone is the enhanced quality of the onboard cameras - and that means larger files. When it comes to saving those precious photos from your iPhone and only a USB stick, you really only have two options: One - connect your iPhone to your PC or Mac and use the relevant software to select and transfer your files; or two - buy an iPhone compatible USB stick that has an app that supports quick and easy file transfers. Let’s explore both.
How to transfer photos from iPhone to USB stick: Computer users
Using a Mac
1. Connect your USB stick to your Mac
2. Connect your iPhone to your Mac using the appropriate cable. For most, this will be a lightning cable, for the newest model this will be USB-C
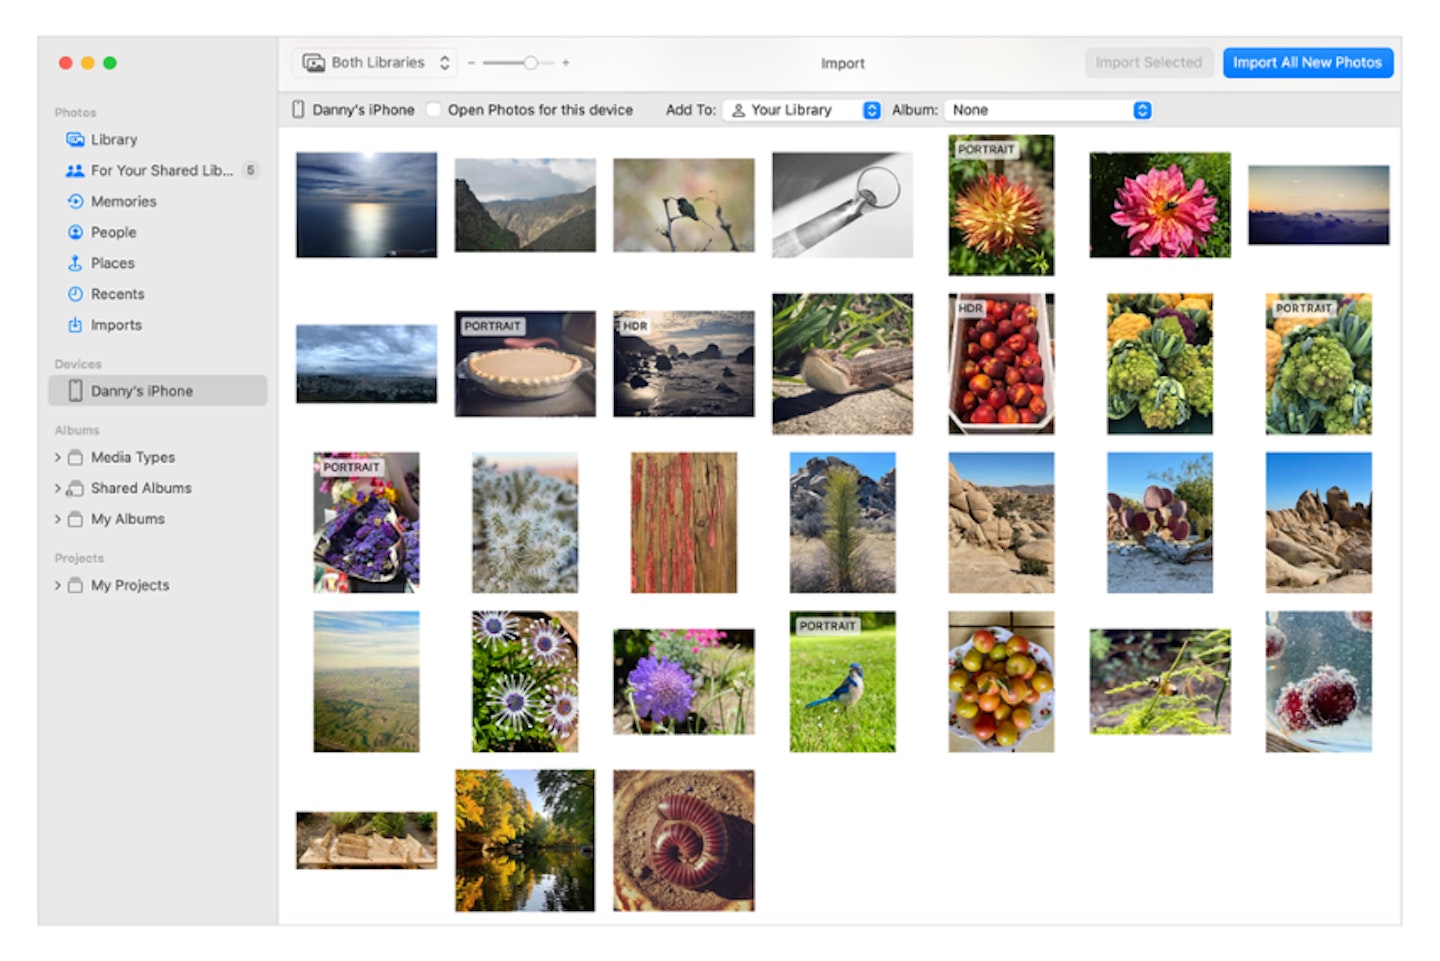
3. Open the Apple Photos app
4. Your photos on your iPhone should be visible on an ‘Import’ screen. Use the app to select the photos you want to transfer.
5. Again in the Photos app, select the location you’d like to save the photos to using the ‘Import to’ button. Select the USB drive. You can also create a new folder for your photos if you need to.
6. Once you’re happy you’ve selected every photo you need, click on ‘Import Selected’ (or, ‘Import All New Photos’ if you want them all).
Top tips
If the Import screen doesn’t automatically load your iPhone photos, select your iPhone from the list of devices in the sidebar. You might be asked to unlock your iPhone to allow this step.
Don’t forget, this won’t ‘move’ the photo files - only copy them to your Mac. If you need to clear space on your iPhone, we recommend double-checking that your photos have been successfully copied to the Mac / USB stick before you use your iPhone to delete photos you no longer need.
Using a PC
1. Connect your USB drive to a spare USB port on your PC
2. Connect your iPhone to the PC using your cable. If you have an iPhone with a lightning port, it should have been supplied with a lightning-to-USB cable for charging - this cable is fine for this task.
3. You may be asked to unlock your iPhone to allow full access to it on the PC. Once done, your device should appear in the sidebar of Windows Explorer.
4. You now have a choice, you can either:
- continue to use Windows Explorer to navigate to the available photo folders on your iPhone, and copy your files to USB that way, or:
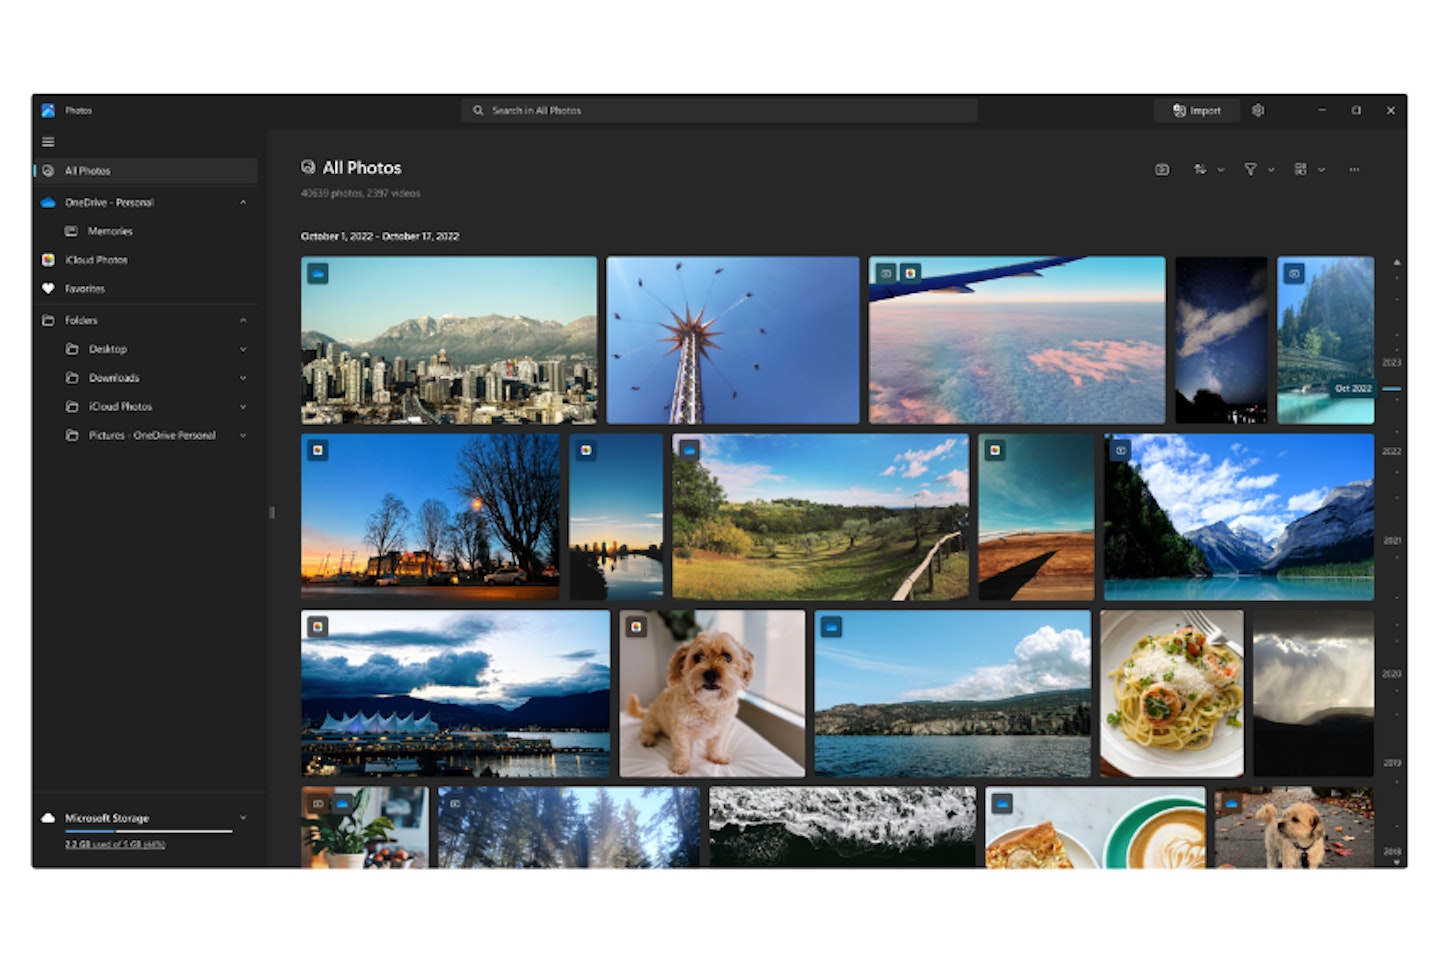
- Use the Windows Photos application in much the same way as Mac users would use the Apple Photos App.
5. If you’re using the Windows Photos app, select ‘Import> From a USB device’ and select your photos and where you want to import them. Select your USB stick and transfer.
Top tip
If you are using Windows Explorer, don’t be tempted to use the ‘move’ option to transfer your files. If your phone or PC loses power halfway through a move operation you could lose that photograph altogether.
Using just a USB stick
We think the simplest way of making sure you have your files backed up - particularly if you’re out and about - is to invest in an iPhone-compatible USB stick. But, if you are planning to transfer photos this way, remember - even some of the best USB sticks on the market aren’t iPhone compatible. And that’s all down to the connection type and lack of a companion app.
Why use a USB stick instead of a computer?
The benefits here are pretty obvious. Firstly, you’re not tied to a laptop, Mac or PC. So, if you love taking photos on holiday or professionally using an iPhone 13 Pro Max that we reviewed, you can enjoy snapping away without worrying about storage space.
Second, you can still select your photos and even make automatic backup routines to the attached USB stick. So, you’re not losing much in terms of flexibility and features just because you’re not within reach of a computer.
USB-C memory sticks for your iPhone
If you’re the lucky owner of an iPhone 15 you’ll already know that the lightning connector has been replaced with the more ubiquitous USB-C port. And that’s good news in our book. Not only is USB-C a little more robust, it’s also high-speed - so ideal for photo transfers. Some of the best USB-C memory sticks are iPhone-compatible too.
The best way to transfer photos from iPhone to a USB stick
Not all USB sticks come with advanced features like backup routines, but we think that some of the best USB memory sticks are made by SanDisk. SanDisk provide various free software applications to support their various USB devices, and one in particular is absolutely ideal for modern iPhone users. Using the SanDisk 128GB iXpand Flash Drive Go as an example, here’s how to go about it.
1**.** Plug the iExpand drive into your iPhone. If your iPhone has a USB-C connector, you’ll need a lightning to USB-C adapter cable.
2. If you haven’t got the iXpand Drive app on your phone, you’ll still be able to use the iPhone’s various included apps to manage your files and copy them to the stick. However…
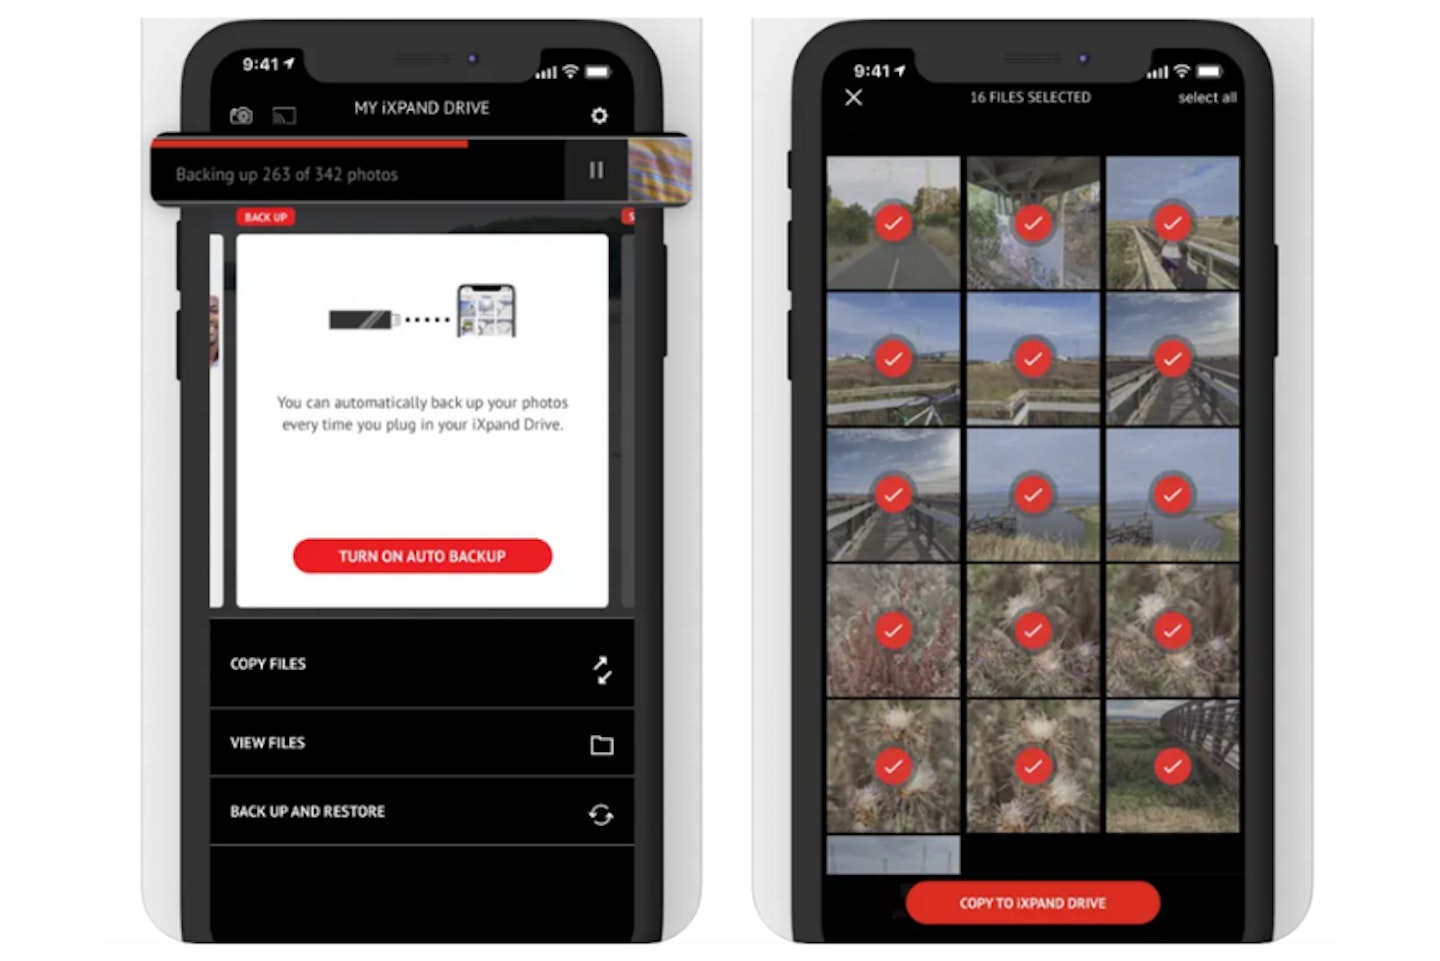
3. We recommend getting the iXpand Drive app via the Apple Appstore before you begin. Having plugged the stick into your iPhone you will then also have access to functions like:
- Select and transfer your photos
- Freeing up space on your iPhone
- Automatic back-ups
Top tip
SanDisk isn’t the only company with apps that work with an attached USB drive. But, the iXpand Drive app is well-regarded. It's also free. It’ll even play your video and music files.
Best USB stick for iPhone

The iXpand Flash Drive Go comes with a proper Lightning connector as well as USB 3.0. So, that means you’ll be able to get your files to and from your Apple iPhone and home PC or laptop as seamlessly as possible.
At 128GB, there are larger drives out there (and this one is also available at 253GB if you need it), but given that the total storage capacity of the average iPhone is rarely as high as a terabyte, with photos and videos taking up only a proportion of that space, we think 128GB is an ideal size for most iPhone users.
Pros
- Twin USB-3 and Lightning ports mean maximum flexibility between iPhone and other systems
- Case design means the port that isn’t in use is protected
- Works with iXpand Drive app for easy scheduling of automatic photo and video backups - never forget to backup those memories again
Cons
- Transfer speed is okay for most, but not ideal for lots of very large files - like long 4K videos
| Capacity: | 128GB |
| Speed: | Up to 130Mbps read |
| Ports / Connectivity: | USB 3, Lightning |
| Extra features: | Retractable connector |
| Dimensions: | 5.28 x 1.19 x 1.24 cm |
- Customer review: "I brought this specifically for my iPhone as a content creator I'm constantly filming and taking photos and need to back up my work. It is a plug-and-play product that requires you to download SanDisk app to manage your software. It has decent transfer speeds and can be used on a laptop."
Other options
If you need much more space than you can get on a USB stick, there is one more option: An external SSD or HDD.
Some of the best external hard drives can connect to (and are compatible with) iPhones. Connect a lightning cable (or, if you have a new iPhone - a USB-C cable) and you’ll be good to go. Sometimes, if the external drive doesn’t have a lightning port, you can buy a lightning to USB-C adapter.
Two things to remember here though is that, firstly, any external drive needs power. Unlike when you connect one to a PC, the iPhone won’t supply the power required to run the external drive. So, you’ll need to plug it into a socket or mains power bank - such as the Anker 521 PowerHouse.
Secondly, you’ll need to be comfortable with using the Apple Photos app to make your photo selections and export. It’s less powerful than some other apps, and certainly less flexible than using your Mac or PC, but it’s great for travelling light. Some of the best iPhones we’ve seen are the ones with larger screens - like the iPhone 14 Pro Max. Other than being great for photography, that larger screen is going to make selecting and exporting multiple photos much easier.
Chris Duffill is a Tech Product Writer for What's The Best and Yours. His background includes writing, editorial, marketing, design, video production and photography.
He specialises in home entertainment and audiovisual tech, including speakers, amplifiers, turntables, streaming media players, and TVs. He is also one of our resident experts in computing (PCs, tablets, smartphones, smartwatches), DSLR photography and all kinds of digital cameras. He also writes about retro gaming, game consoles and various electronic gadgets. If it plugs in, lights up or makes a noise, he’ll write about it.
Subscribe to the What’s The Best Newsletter to keep up to date with more of the latest reviews and recommendations from the rest of the What’s The Best team.